Since booking your first pole photoshoot, you’ve probably been spending a disproportionate amount of life daydreaming about Creatures of XIX bodysuits and scrolling your phone for #photoshootinspiration, hunting down that elusive ‘perfect pose’.
You know the one – it’s that pose that ticks every box: impressive, strong, AND elegant all at the same time, whilst revealing all your best angles and, of course, being do-able enough that your face won’t look like a constipated beetroot.
I know; I’ve been there.
As well as ending up a walking encyclopaedia of pole moves after all the #photoshootinspiration research, I was also a bag of nerves when I booked my first pole shoot.
My default setting when someone points a camera at me is jazz hands and a cheesy grin, but I scrubbed up pretty well on my photos—and you can too!
Here are my top 10 tips to help you feel fully prepared for the big day, including what to eat on shoot day to avoid bloating, how to get your muscles looking ripppppped if you want them to and how to get the most out of your limited time slot with your photographer.
Lights, camera, action…
#1: Practice makes perfect
This is the most fun part of photoshoot prep – choosing and perfecting your poses!
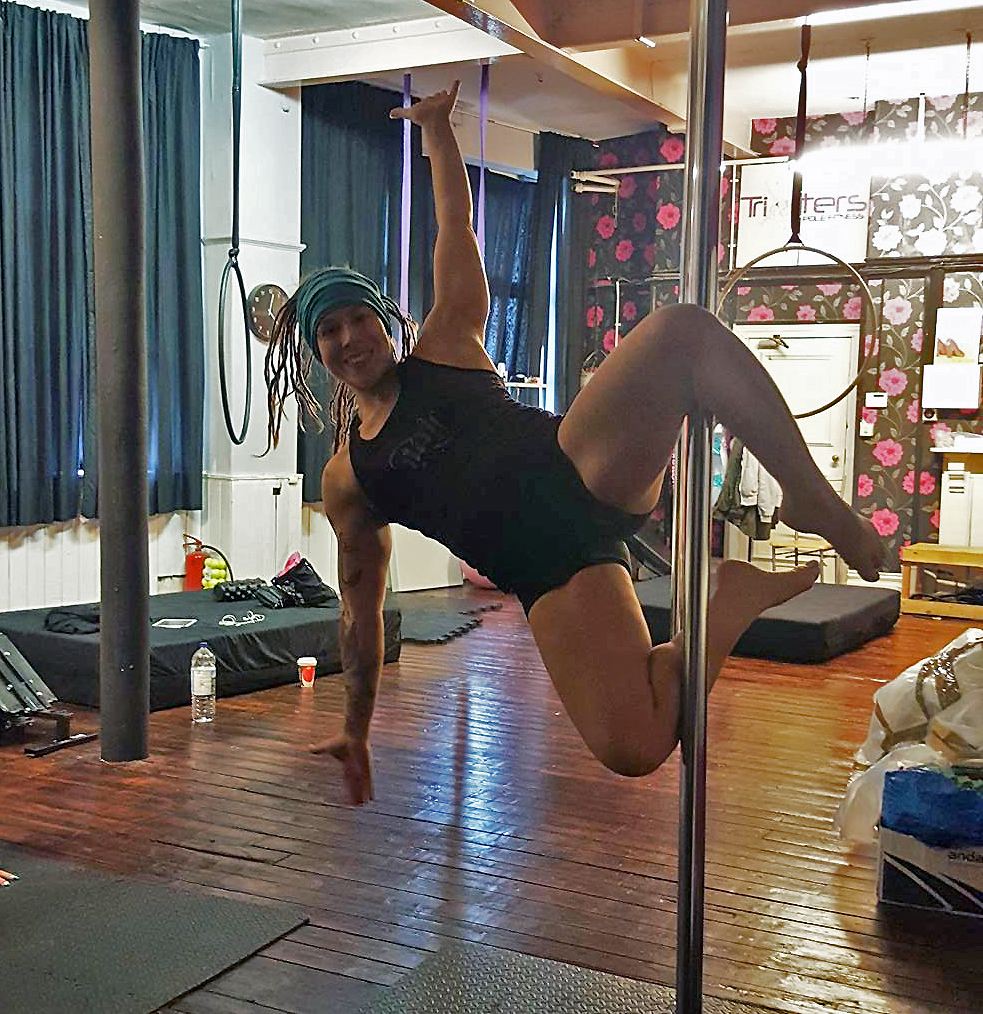
Get together with your pole buddies or book some privates with your instructor so you can practice, practice, practice all those poses you’ve got in your head and saved on your phone.
Experiment with different variations of the poses and—here’s the most important bit—get people to take pictures of them. All of them. From as many different angles as possible.
Then review and critique your pictures. Maybe you keep forgetting to point your toes. Perhaps you need to extend an arm more. Which angle does it look best from? What happens if you look up at the pole instead of off to the side or at the floor – try poses looking in different directions. Tiny adjustments like the focus of your gaze can make a huge difference to how a pose looks on a final photograph.
To some extent, your photographer will help with these finer details on the day, but you will only have a set amount of time, so get as much of this stuff figured out in advance as you can.
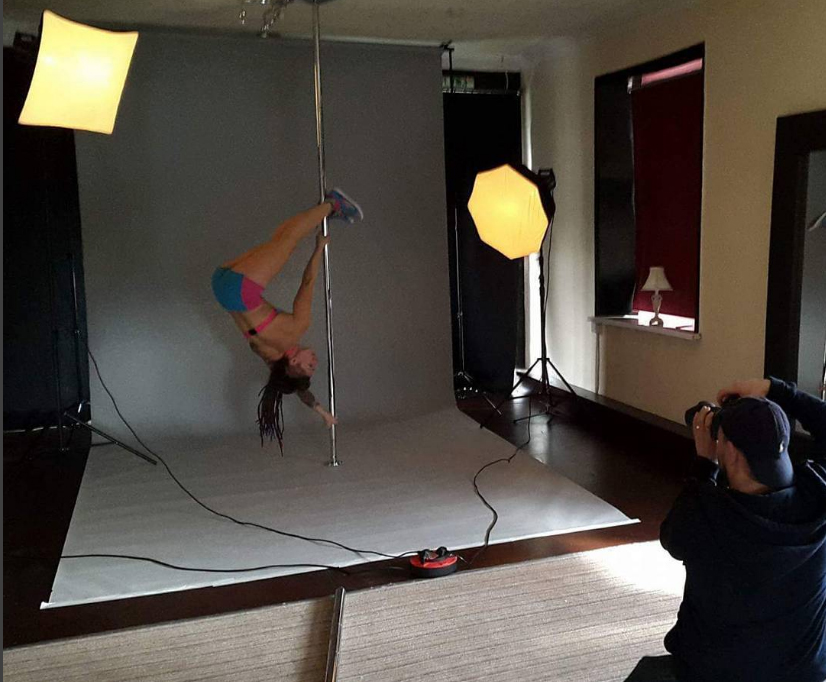 Also, remember that your photographer will have a backdrop with the pole in front of it, so they won’t be able to run in circles around you to get the best angle like your mates do in pole class. Unless you are confident doing your poses on spinny pole or you are happy to have someone run in and spin you around a few degrees to get you in the right place, you’ll need to figure out the best place to start your move.
For some reason, trying to figure out which way to face when inverting so that your final pose ends up pointing in the right direction is way more confusing than it should be, especially if you’re feeling nervous. Practice this in advance so you at least have a rough idea of where you need to start and then it won’t eat into your shoot time.
#2: Don’t stray too far from your comfort zone
Your first pole shoot isn’t the time to test out that move you saw in a dream last night or tackle a nemesis trick you’ve never managed to do in class in the hope that you might fluke it on the day.
Remember that your photographer will be asking you to hold a pose while they snap away and finds the best angle. You need to be confident that you’ll be able to hold your moves for more than a split second. And it’s likely that your photographer will want to readjust the lights and ask you to repeat the move two, three, four or more times.
You should absolutely show off your best moves – a photoshoot is a great way to record your progress and of course you want to include the most badass poses in your repertoire, but if you’re not 100% confident with a trick, it’s probably not going to come out well on a photograph and it will only stress you out before and on the day itself. So stick with the poses you know you can comfortably hold and perform well repeatedly.
#3: Don’t crash diet
As much as the cover of every women’s fitness magazine in the 90’s would have us believe, it’s really not physically possible to get a six-pack in 7 days. If you want to change how your body looks for your photographs, you’ll need to start working on that in plenty of time before your shoot.
Leaving it until the week before and going into a panic-induced starvation mode is going to leave you physically and mentally exhausted for your shoot and making sudden dramatic changes to your diet may end up having a negative effect on how you look. The severe calorie restriction that comes with crash dieting will lead your body to look beyond your fat stores for energy and may start to break down lean muscle tissue, too (so long, well-earned guns and pole strength).
You want to wake up on the day of your shoot feeling positive, relaxed and full of energy, not hangry and honking like a compost heap because the only thing to pass your lips in the last week has been 10 litres of Cabbage Soup.
Please try not to be tempted by last minute “quick fixes” promising dramatic results. There is no magic pill. If there was, I’d gladly sell it to you. But a lot of these online tips—usually aimed at fitness models and bodybuilders—are based in broscience and some, like water depletion and the use of diuretics, are just not worth the risk.
 My best advice for you in the week before your shoot is not to make any sudden and dramatic changes to your diet as they could have the opposite effect that you want.
Wear something that makes you feel good, be your awesome self and work what ya got! We’re all a work in progress AND perfection at the same time, so embrace it and take your red carpet moment like the queen you are!
If you’re really shooting for that ripped fitness model kinda look and your prep in the lead up means you’re lean enough at the beginning of photoshoot week to see some muscle definition, then you can make a few small adjustments that should help to make your muscles ‘pop’ on your photos…
You may have heard bodybuilders talking about ‘carb loading’ when prepping the stage. Carbohydrates are stored as glycogen in the muscles and when your muscle glycogen depots are full, it will give your muscles that full, hard and dense look that looks great on photographs. But there is a balance – too many carbs and the muscles will end up looking soft—too few and they end up looking too flat! I can’t give specific advice here as it completely depends on your current diet, but there are many different ways to ‘carb load’.
If you’re gonna go down the carb loading route, IMO front loading (eating a large amount of carbs at the beginning of photoshoot week and reducing them in the days up to the shoot) is preferable as it at least gives you a few days to play with so you can correct and adjust your diet if it doesn’t have the effect you want. To allow for the increase in carbs in your diet, you would reduce your protein intake at the beginning of the week and gradually increase protein as you reduce carbs every day until photoshoot day.
If you want more info on how this whole ‘peak week’ and carb-loading thing works, please check-out a science based source. This one is good.
#4: Don’t adjust your water and salt intake
I’m including this tip because I see so many people trying to restrict water and sodium (salt) intake in the run up to a photoshoot in order to reduce water retention and look slimmer / more muscular. In my opinion, it’s really not worth it.
Your physiology is pretty clever. Depleting water and sodium can force your body into protective action and you may begin to retain MORE water.
So not only are dehydration methods ineffective but they can also be risky, especially if you’re going to be hanging upside down and busting out all those badass pole moves.
My advice? Eat the same amount of salt and drink the same amount of water you usually would.
On the day of the shoot, just sip water slowly when you are thirsty – don’t start guzzling down water or you’ll feel full and need to pee mid-shoot!
#5 Get tan?
There’s a reason bodybuilders look like they’ve been tangoed on stage. If you’re fair skinned, a good tan can really help make your muscle definition ‘pop’ on photos! But if you’re gonna tan, please test it out before the day of your shoot.
The last thing you want is to turn up looking like an Oompa Loompa (there is only so much Photoshopping that can be done) or even looking like a sun-kissed Adonis only to find that you hop on the pole and slide straight off, leaving a lovely fake tan residue for the next person on the pole. A professional spray tan, tested in advance, is probably the best option.
#6: Be dramatic
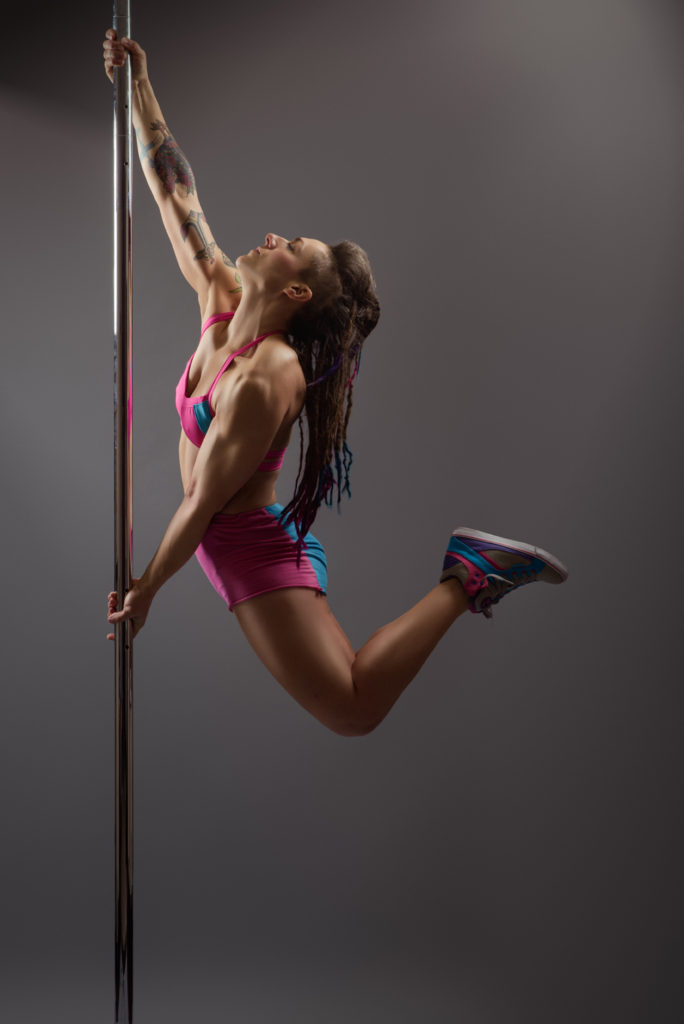
Studio lighting will dim the effect of your hair and make-up, so don’t be afraid to be more dramatic with your look than you would for a night out.
I felt like Jedward when I did my first shoot and had to put on a headband to go and teach a Kettlebell workshop afterwards because my hair was so ridiculously massive – but you’ll see on these pictures, it ended up looking pretty tame on the final edits!
So be bold with your outfit, hair and make-up – never underestimate the power of red lipstick and a pair of killer heels (or funky sneaks in my case)!
#7: Workout in your photoshoot week
In the run up to your photoshoot, don’t give up your gym routine. Stick with your normal exercise regime but just reduce the intensity slightly. This will help to maintain muscle glycogen levels without leaving you too knackered to perform all those sweet moves for your photographer.
#8: Fail to prepare, prepare to fail
Pack an “anti-panic” kit for the day of your shoot.
This kit should include anything you might need—make up, hair grips, wig tape (awesome for sticking outfits in place), safety pins to fix outfit malfunctions, grip aid, a pole cloth, water, snacks, resistance bands for warm up (more on that below), a pole cloth…
It should also include a list of the moves you want to do in your photoshoot. It can also be helpful to decide, in advance, a sensible order in which you want to do them. Do you want to do strength moves first to get your most difficult poses out of the way so you can relax for the rest? Or do you want to start with a couple of easy poses to get you relaxed before you move onto some harder poses?
On the day, tick through your moves as you go. Trust me, in the excitement of the photoshoot, you WILL forget moves if you don’t have a list to follow and it will fly by so quickly, if you’re not organised, you might not get time for all your poses.
#9: Eat before your shoot
Of course, it depends what time of day your shoot is, the trick is not to eat so much that you end up feeling bloated, but eating enough to make sure you have enough energy to get you through your shoot! Look for food that will give you energy to get through your shoot but won’t leave you looking and feeling bloated.
#10: Get your pump on
Know that feeling when you’ve just finished pole training and you ‘mirin yourself in the mirror looking all swole?
We look more ripped after a workout because our body directs blood flow into the muscles, giving them that ‘pumped’ look. If you want the camera to catch your muscle definition, you can ‘pump’ the muscles with some light dumbbell or bodyweight exercises before you hit the pole.
Obviously, you don’t want to wear yourself out so make sure the weights are light, or use a resistance band. Do your usual full body warm up and add a few sets with the dumbbells/resistance band to get your muscles primed for their moment in the spotlight.
Finally – relax and enjoy!
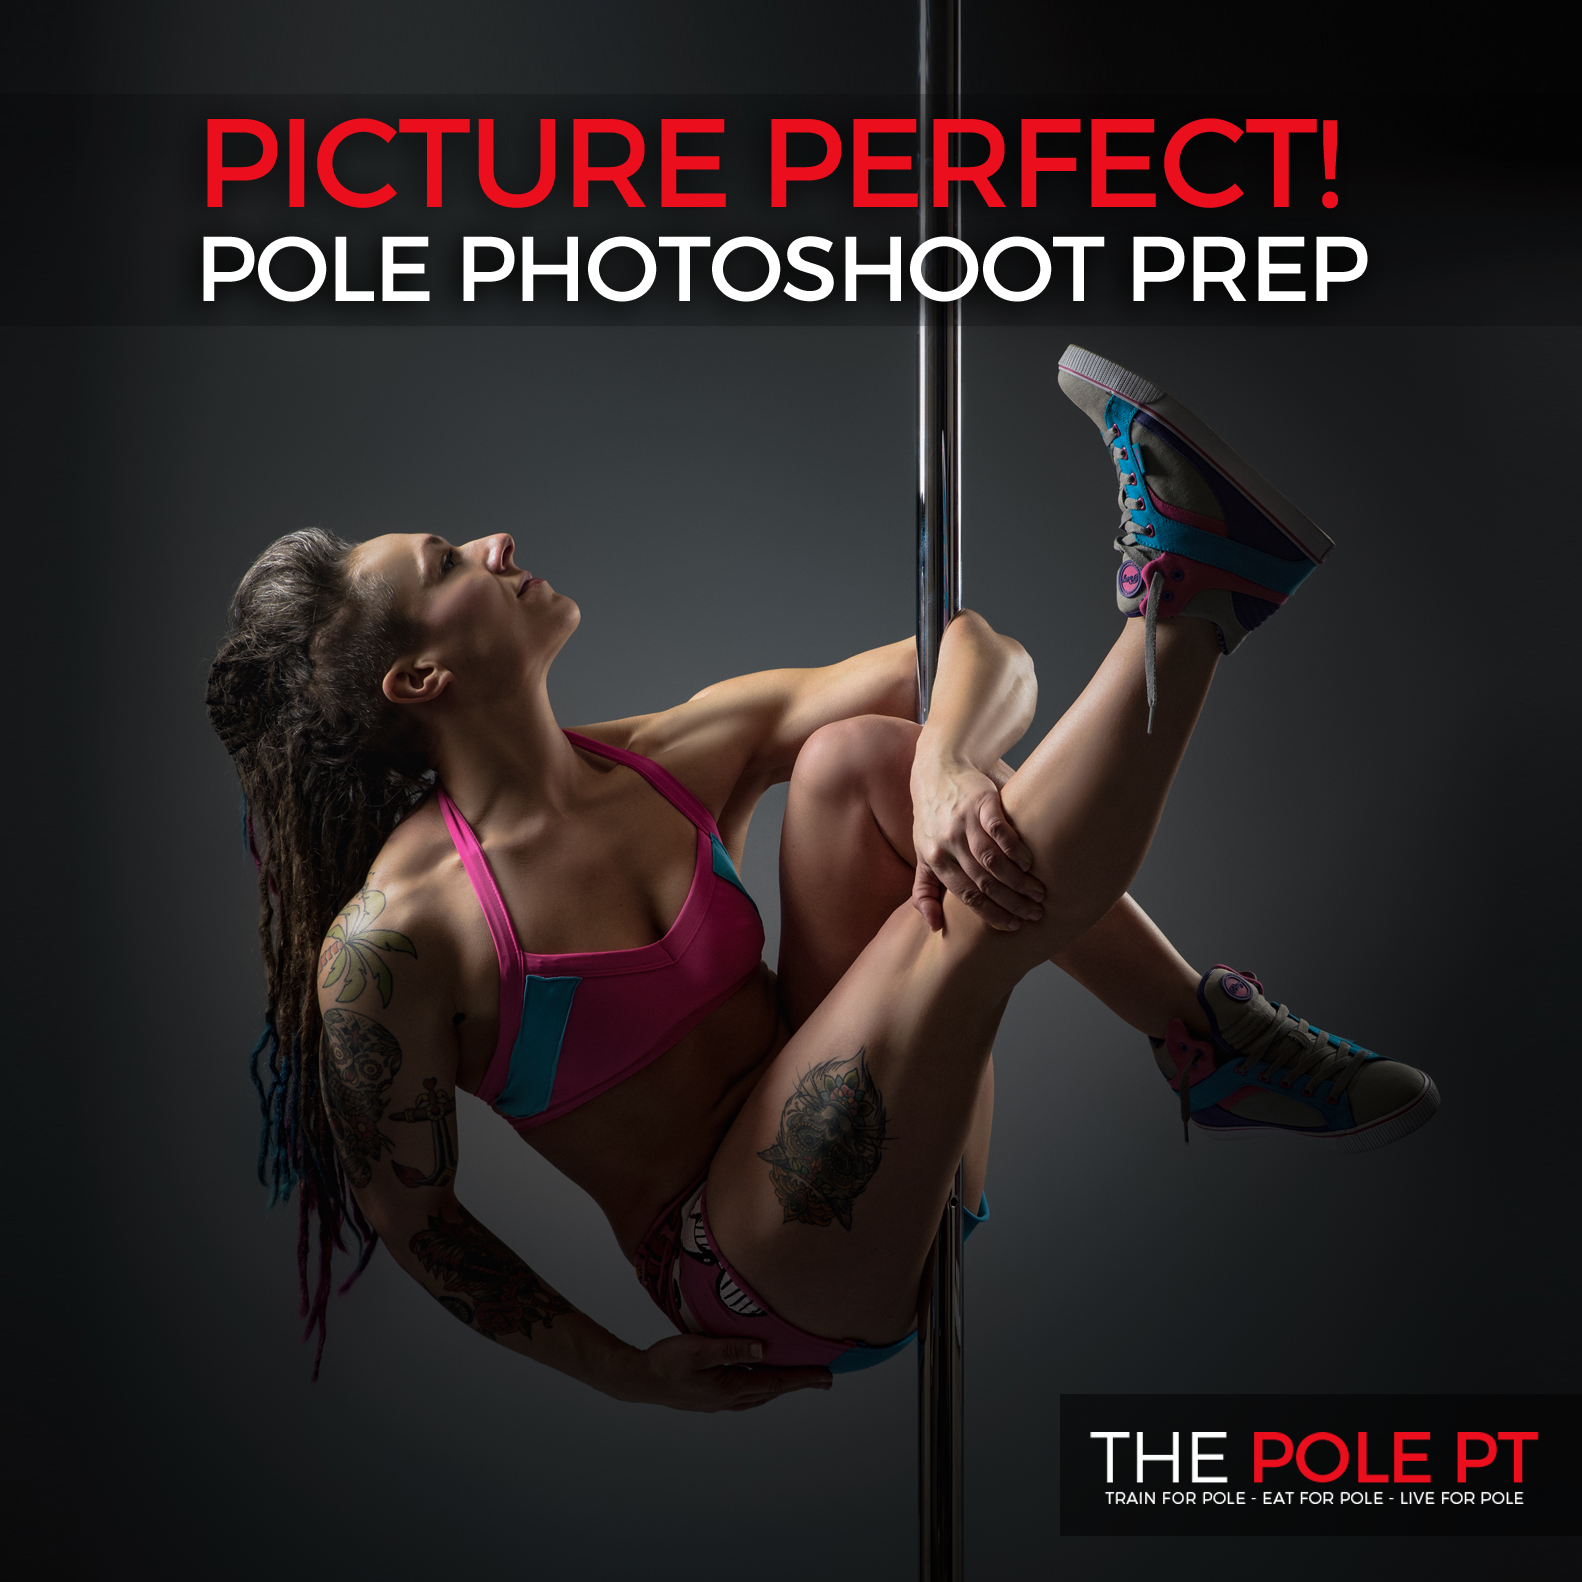
Before my first photoshoot, I was ridiculously nervous. I thought I’d feel super awkward. But honestly, by the time it was over I felt like Marilyn Monroe posing in that iconic white halter dress, flicking my hair about and looking all sultry-like off into the distance. I absolutely loved it.
The photographer—Simon at the Image Cella—made me feel at ease straight away and I found a whole new confidence that has long outlived that 30-minute shoot.
I still can’t break that jazz hands and cheesy grin combo when people take pics of me in class though…
Join my mailing list for free training advice direct to your inbox!
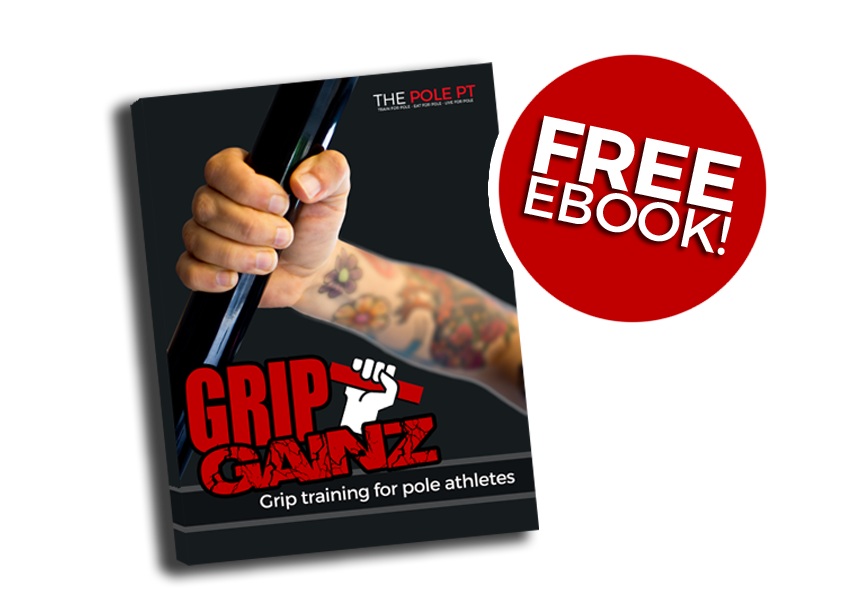
…including my FREE EBOOK “Grip Gainz – Grip Training for Pole Athletes” – with training drills and programming to help you achieve a vice-like pole grip.
I hate spam, too! When you join my mailing list, I’ll also notify you about new blogs and Pole PT updates that I think you might be interested in, but I’ll keep it to a minimum! You can unsubscribe at any time!