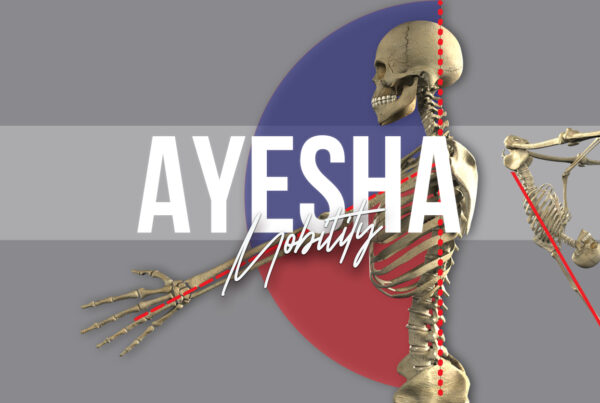
If you made it to the end of the MONSTER BLOG that was Part 1 in this series – I salute you, dedicated seeker of handspring knowledge!
*If you missed my ponderings over the biomechanics of handsprings, you can go back and take a look at that here*
With knowledge comes great power
Now we understand why twisted grip might not be the most optimal position for the handspring movement, we can use that knowledge to address and reduce the ‘risk’ involved in using it. Yey!
With great power comes great responsibility
As with all things in life, just because you can [twisted grip], doesn’t mean you should. That’s why I’m going to start this blog with 2 shoulder mobility screening tests.
If you’re a Lord of the Rings fan, you can think of these tests as a pole dancing Gandalf, blocking your determined, firey path to the twisted grip handspring and demanding “thou shalt not pass”.
Or, in less-geeky terms: prerequisites before you dive into twisted grip handspring training!
After that, I want to share a couple of conditioning exercises that can help prepare your shoulders for the twisty demands of the grip we all love to hate.
I realise that Part 1 was as heavy as the burden of The RING itself (and as long as the entire Trilogy), so to save your brain from melting out your ears, I’ve broken this blog down into 5 short videos below.
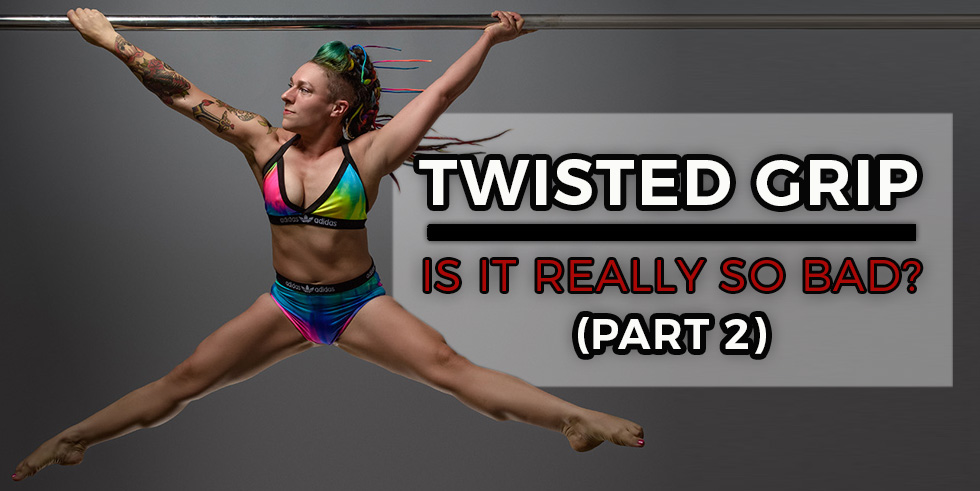
PART 2: SCREENING TESTS AND CONDITIONING FOR THE TWISTED GRIP HANDSPRING
*Here’s Part 1 if you missed it!*
TWISTED GRIP SCREENING TESTS
Screening Test 1: Overhead mobility
For ease of reference, here’s a recap of the exercises I mentioned in the above video:
|
MOBILITY ROLLING These are the areas I would usually focus on with my clients who struggle with overhead mobility: |
STRENGTHENING As I explained in the video, I usually follow the mobility rolling with some movement in the new range of motion that this opens up. Here are links to some of my faves: |
| Mobility ball rolling – pecs | Child’s pose arm lifts |
I try to incorporate this routine of foam rolling and working in the end range of movement regularly into warm ups or cool downs, with about 5 minutes spent on mobility rolling (focusing on the tight spots) and then 3 sets of 10 of the strengthening exercises.
Screening Test 2: Internal rotation mobility
For ease of reference, here’s a recap of the exercises I mentioned in the above video:
| MOBILITY ROLLING / STRETCH
These are the areas I would usually focus on with my clients who struggle with posterior shoulder tightness: |
STRENGTHENING
As I explained in the video, I usually follow the mobility work with some movement in the new range of motion that this opens up. Here are the links: |
| Mobility rolling posterior shoulder | Cuban rotation (no weight)
Progressing to use light weights: Cuban rotation with weight |
I like to incorporate this routine of foam rolling and working in the end range of movement regularly into warm ups or cool downs, with about 5 minutes spent on mobility rolling (focusing on the tight spots) and then 3 sets of 10 of strengthening exercises.
Create a solid foundation of mobility and function FIRST, cool tricks SECOND
I don’t want to be the ‘shalt not pass’ troll here. Gatekeeping movements isn’t really my thing, but if you don’t ‘pass’ the above tests, I would recommend taking a step back from handsprings and spending some time improving your shoulder mobility first.
It will help to reduce risk of injury and create a more solid foundation for building your handspring strength and technique. As a bonus, because so many other moves in pole require a high level of shoulder mobility, too, if you improve your range of motion and strength in the end of that range, some of those frustrating pole moves that have eluded you in the past may suddenly seem to ’click’ like magic!
Of course, this blog post is only a general guide – there are many potential reasons why your shoulder mobility might be limited and if you really want to pin down what is causing your shoulder mobility woes, the best thing to do is go see a physio for a hands-on assessment. Ideally one that understands the weirdness of pole, like Cirque Physio and Fizzy Lemon Physiotherapy. Find your fellow weirdos and run to them with open arms!
Once you have at least those two key elements of your shoulder mobility on point, THEN I would start to add in more conditioning that is going to train and prepare your shoulders for the movement pattern of the twisted grip handspring.
TWISTED GRIP CONDITIONING EXERCISES
Exercise 1: Bottom arm shoulder engagement
I love this drill because it really helps to grove the movement pattern for the bottom arm in the handspring and it applies universally to all handsprings, not just the twisted grip.
But with twisted grip, this is all the more important because (as we covered in Part 1), you don’t need as much strength from the top arm, which can skew the push-pull balance of the movement and end up placing a higher demand on your bottom arm.
Here’s a link to that exercise: One hand downdog. I would usually programme this at around 3 sets of 10 and incorporate it into the mobility section of warm ups.
Exercise 4: Top arm internal rotation conditioning
With the right progressions, built gradually (and patiently) over time, your muscles and tendons adapt and strengthen. One of the problems with how we train for handsprings is that we usually learn the movement pattern and then repeat it over and over again, without giving the tendons of our rotator cuff the time they need to adapt and catch up with that load.
Practicing the twisted grip handspring on the pole puts a high load on that movement (erm, our entire bodyweight). The exercise in the video below is intended as a progression that uses a similar movement pattern as the twisted grip, but with a significantly reduced load.
As part of a progressive training programme, incorporating exercises like this can help to prepare your shoulders for twisted grip BEFORE you start to learn it on the pole, by introducing the movement pattern slowly.
It’s worth noting that this exercise is considered kinda controversial in the world of strength and conditioning – generally because there are probably better ways of targeting the supraspinatus that don’t put the shoulder into internal rotation. Buuuut if we’re gonna be twisted grip handspring-ing then we’re gonna eventually be putting a helluva lot more weight into this position, which is why I believe this exercise has a place when used as part of a progressive programme to prepare the shoulders for using twisted grip on the pole.
Here is a link to that exercise: Scaption with internal rotation and with the band: Scaption with internal rotation – pull. I would keep volume on this low and the weights light, maybe starting with just a couple of sets of 10 a couple of times a week and building up from there.
Progress not is perfection
Remember that how you approach your training in general is as important as the individual exercises you choose.
Create a solid foundation first. Introduce new movements gradually, build them up over time and, as much as it pains me to be the responsible adult here: listen to your instructors! There are progressions in pole for a reason.
Oh, and if you feel pain in any of these tests/movements, please go see a physio!
Stay tuned for Part 3, where we’ll be talking all about how to start building strength for cup grip!
Build strength to invert without a kick, shoulder mount like a boss or achieve your strongest splits ever… with my progressive strength programs for pole dancers! Click here to find out more!
And if you’d like to geek out more with me on the anatomy of pole dance, or you want more details on how to programme your training to reduce risk of injury, check out my books – Strength and Conditioning for Pole – and Pole Anatomy – both available now in paperback or downloadable ebook.
Join my mailing list for free training advice direct to your inbox!
…including my FREE EBOOK “Grip Gainz – Grip Training for Pole Athletes” – with training drills and programming to help you achieve a vice-like pole grip.
I hate spam, too! When you join my mailing list, I’ll also notify you about new blogs and Pole PT updates that I think you might be interested in, but I’ll keep it to a minimum! You can unsubscribe at any time!
I’ve loved these posts! Bravo really I appreciate all the work you put into this. I knew twisted grip wasn’t ideal and hard on the shoulder, I stray away with my students and my own practice but I didn’t know exactly why or how to explain the reasons behind it. This was so helpful and so important to understand.
Thank you!
Ah thank you so much, Michelle, for your lovely words. I really appreciate you taking the time to comment and I’m so glad you found it useful. 🙂
just wanted to let you know your Posterior shoulder stretch video isn’t working
Thank you so much for letting me know, Reanna! I will correct it now! 🙂