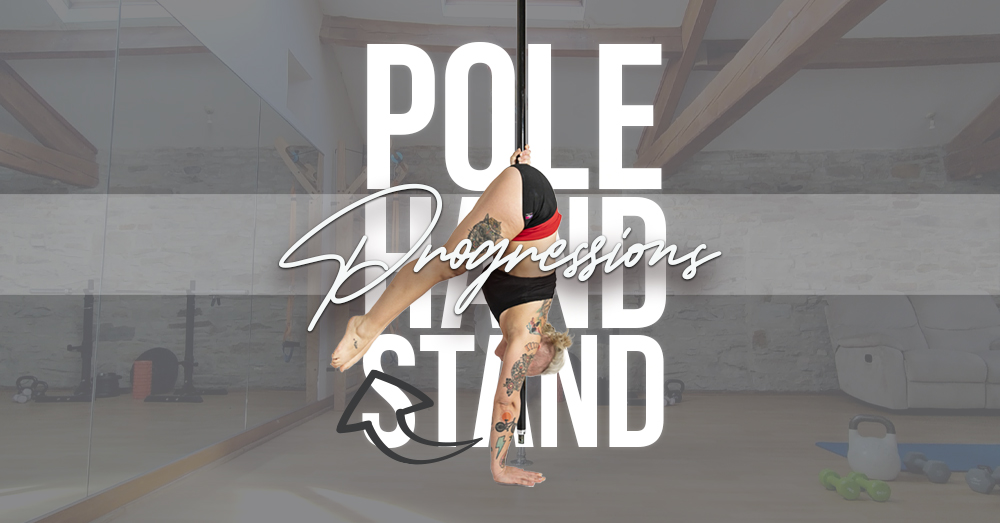
I’ll let you into a secret: the pole handstand deadlift is one of my all time favourite pole tricks. There’s just something intensely satisfying about that ‘lift off’ moment. It’s pure levitation magic!
If you haven’t mastered this move yet, I know you won’t believe me when I say that the float, when it happens, feels like your legs are filled with helium. When your body is ready for it and you’ve hit that sweet spot for the lift, there is a genuine lightness to it. No, really, there is!
This trick and I have a long and complicated history. The Pole Handstand Deadlift was one of the first ever trick programmes I created back in 2016 and has been running strong ever since. How wild is that?!
Over the years, we’ve been part of many ‘wow it really does feel like magic’ moments, worked through a tonne of handstand deadlift ‘blocks’ – both physical and psychological – with our clients, and learnt so much along the way.
Breaking down this move and helping folks feel that same floaty joy when their tippy toes lift into the air lets me experience that magic over and over – one of the many perks of being a coach, I guess!
In this post, I’m sharing 3 of my favourite pole handstand deadlift progressions, taken from my 8-week handstand deadlift programme.
But first, please remember: there are so many different factors that can impact your ability to lift into and hold the handstand position. If you can’t bring your arm fully overhead to 180 degrees, if your wrist or hamstring mobility is limited, if you don’t have the necessary shoulder and/or core strength and stability – these progressions may not be suitable for you.
Working on these basics first before exploring the handstand movement is truly what will set you up for handstand success! You can find out about some of these elements in my handstand posts here (shoulder mobility) and here (wrist mobility).
These progressions will be most useful if you’ve got the basics nailed, can already get into your pole handstand with a controlled ‘kick’ and are feeling strong and confident there.
It goes without saying, but please always use crash mats and a spotter!
Set up position for all my pole handstand deadlift progressions
For all of the progressions below, I’d recommend following the tips in my previous post, Setting your Pole Handstand up for Success, or you can watch the video summary below:
Handstand Deadlift Progression 1: Engagement in the start point
I love this progression for working on engagement in the starting point for the handstand deadlift. It’s more intense than it looks, so when it comes to reps, I’d recommend starting with a fairly low volume (perhaps 3 x 5 second holds on each side, resting between each one), especially if you are also incorporating other handstand deadlift progressions into your session.
Once you’re feeling strong here, this exercise can be progressed by lifting one foot, like so…
Handstand Deadlift Progression 2: Working on the lift
This is one of my favourite progressions for those who are ready to start working on the actual lift. With the feet elevated, it makes it much easier to get the hips stacked in the right place and to begin feeling and exploring that ‘float’.
Again, keep the volume fairly low to begin with (just one on each side, for 3 sets, resting in between might be enough, especially if you are incorporating other handstand progressions into the same workout).
If you’re not ready for the lift yet, you can just hold the position with one or both feet still on the bench. When you’re bossing this, it can eventually be progressed by lifting both feet and then by gradually reducing the height of the bench/block/whatever it is that you are lifting off, until you are able to lift off the floor. Magic!
Handstand Deadlift progression 3: Working in reverse
The final progression I want to share is the Pole handstand negative. This exercise allows you to work through the whole movement, but in reverse. It works the exact same muscle groups needed for the lift, but is less challenging than the lift itself.
This is really useful when you’re starting to pull together the entire movement, once you are super strong in the two progressions above. It’s one of the more advanced progressions I use with my clients.
Again, keep the volume fairly low – 1 to 3 good quality repetitions on each side, resting between is usually a good place to start once you’re ready for this progression.
Want a little more guidance and structure for your pole handstand deadlift mission? In my 6-week Handstand Deadlift programme, we work through the progressions above, with many others in-between! We also combine our ‘on the pole’ progressions with all the ‘off the pole’ strength and mobility work needed to really master this movement pattern. Download and start today, I’d love to help you nail this one!
PS. I’m always ready to happy dance for a handstand deadlift win, so please tag me on Facebook or Instagram when that lift off happens and let’s celebrate your awesomeness!
Content on this website is provided for educational/informational purposes only. It is not a substitute for professional medical advice. You should consult your Doctor or Health Care Professional before doing any exercises or fitness programs to determine if they are right for your needs.


